Use MetaMask For MTHN Chain
Tip
You may encounter a network configuration issue in recent releases of MetaMask, Please go to "Upgrade" section for solution
What is it?
MetaMask was created out of the needs of creating more secure and usable Ethereum-based web sites. In particular, it handles account management and connecting the user to the blockchain. It’s supported in Chrome, Brave, and Safari browsers.
Install
Example: Install MetaMask in Brave browser
- Open Extension Category in Brave: https://chrome.google.com/webstore/category/extensionsSearch for MetaMask
Warning
Note: Make sure it’s offered by metamask.io
- Click on “Add to Brave”
That’s it! You have successfully installed MetaMask extension in Brave!
Tip
The workflow is the same for all browsers
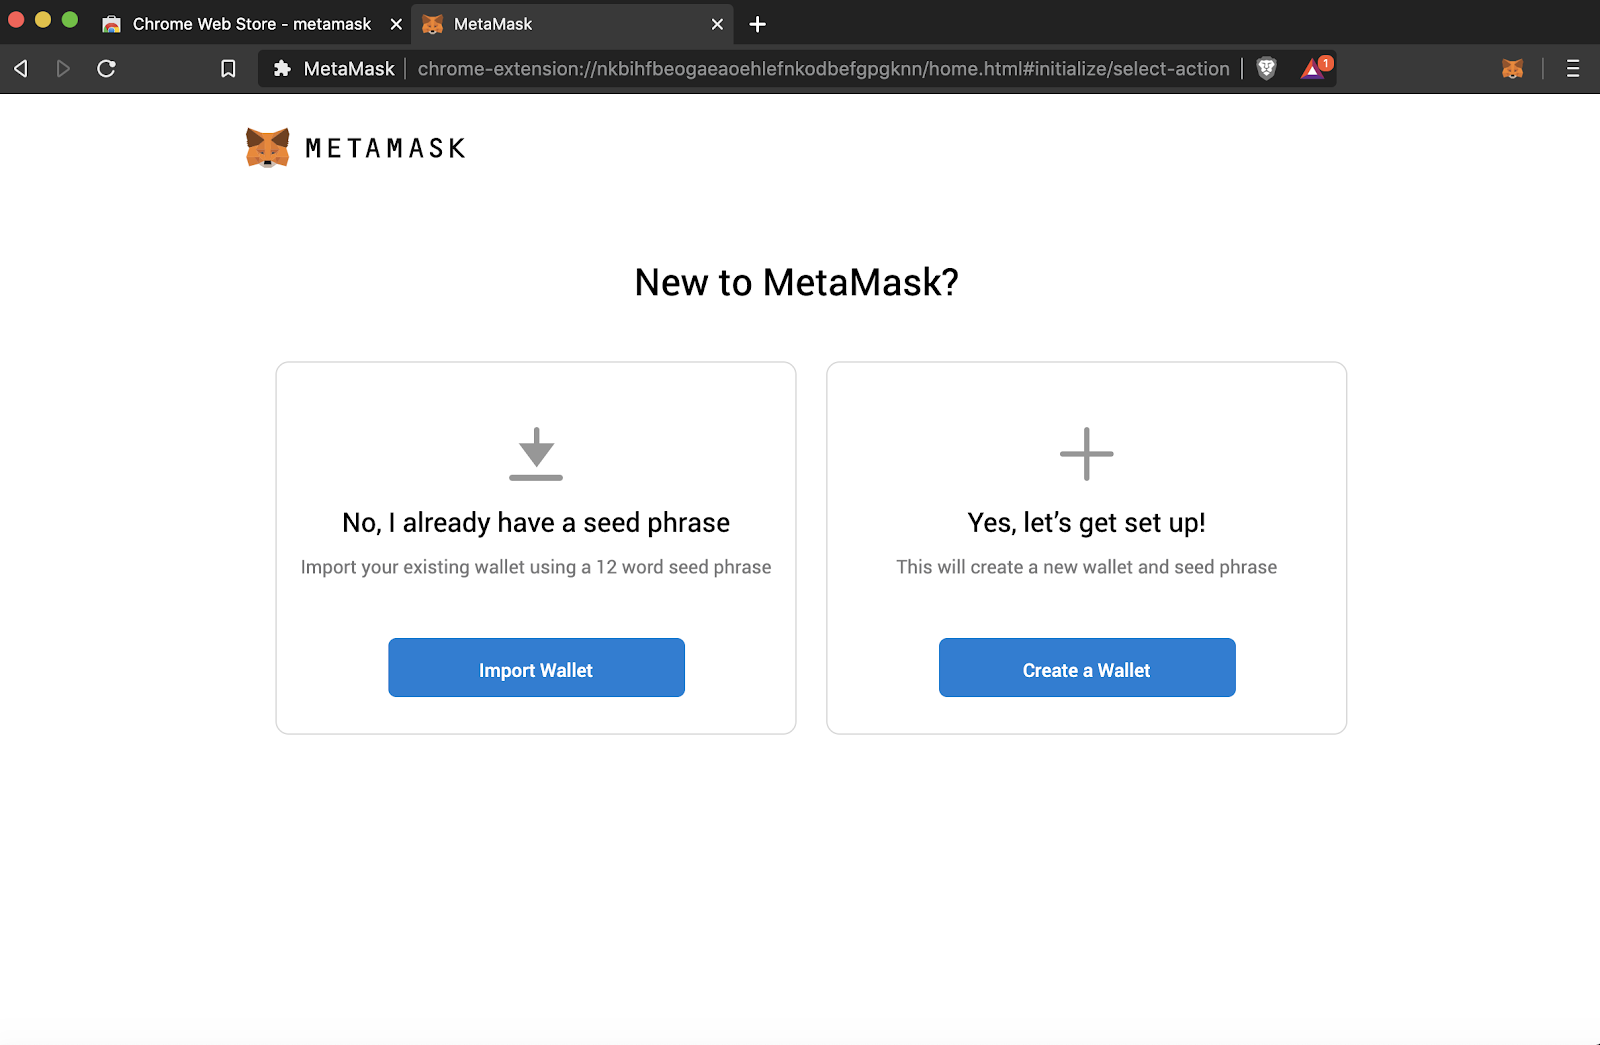
Create an account in MetaMask for MTHN Chain
- Click on the “Create a wallet” button
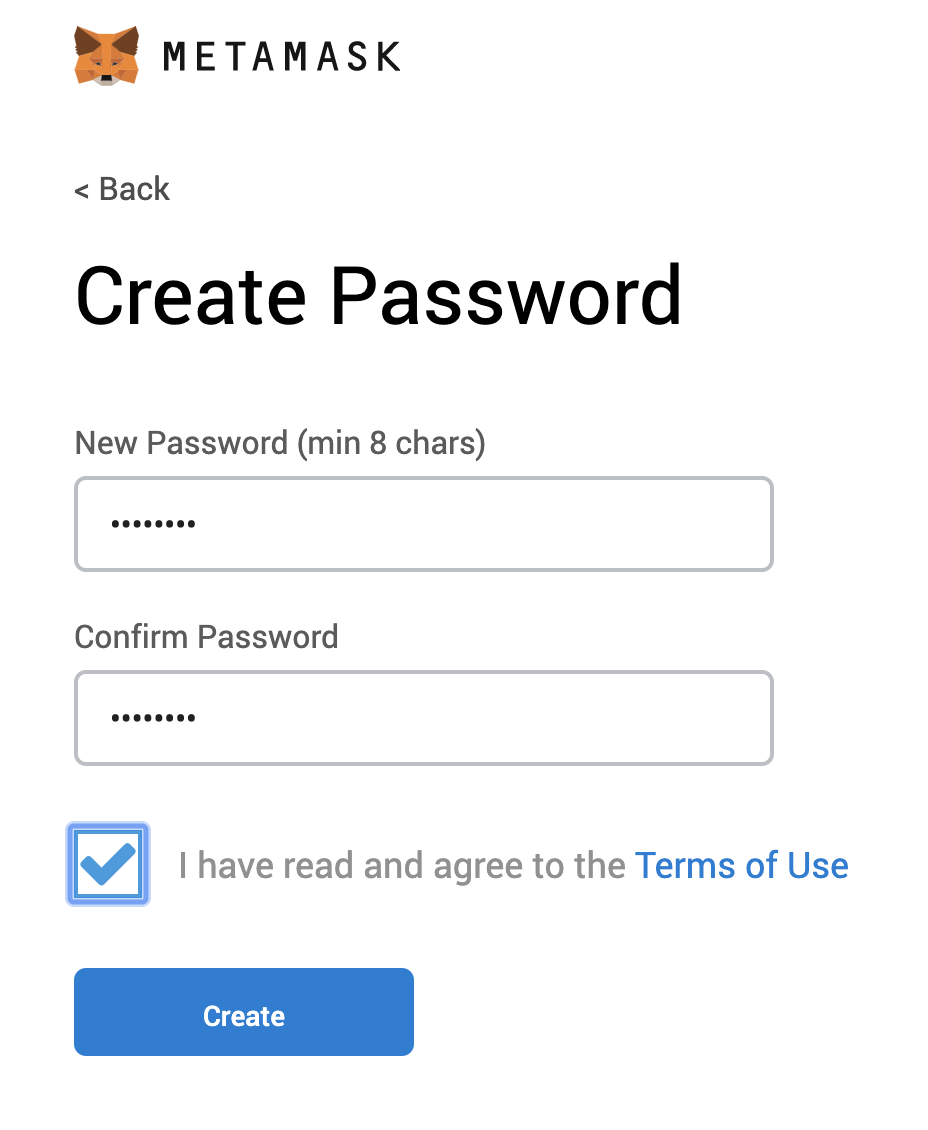
 2. Create Password of at least 8 characters
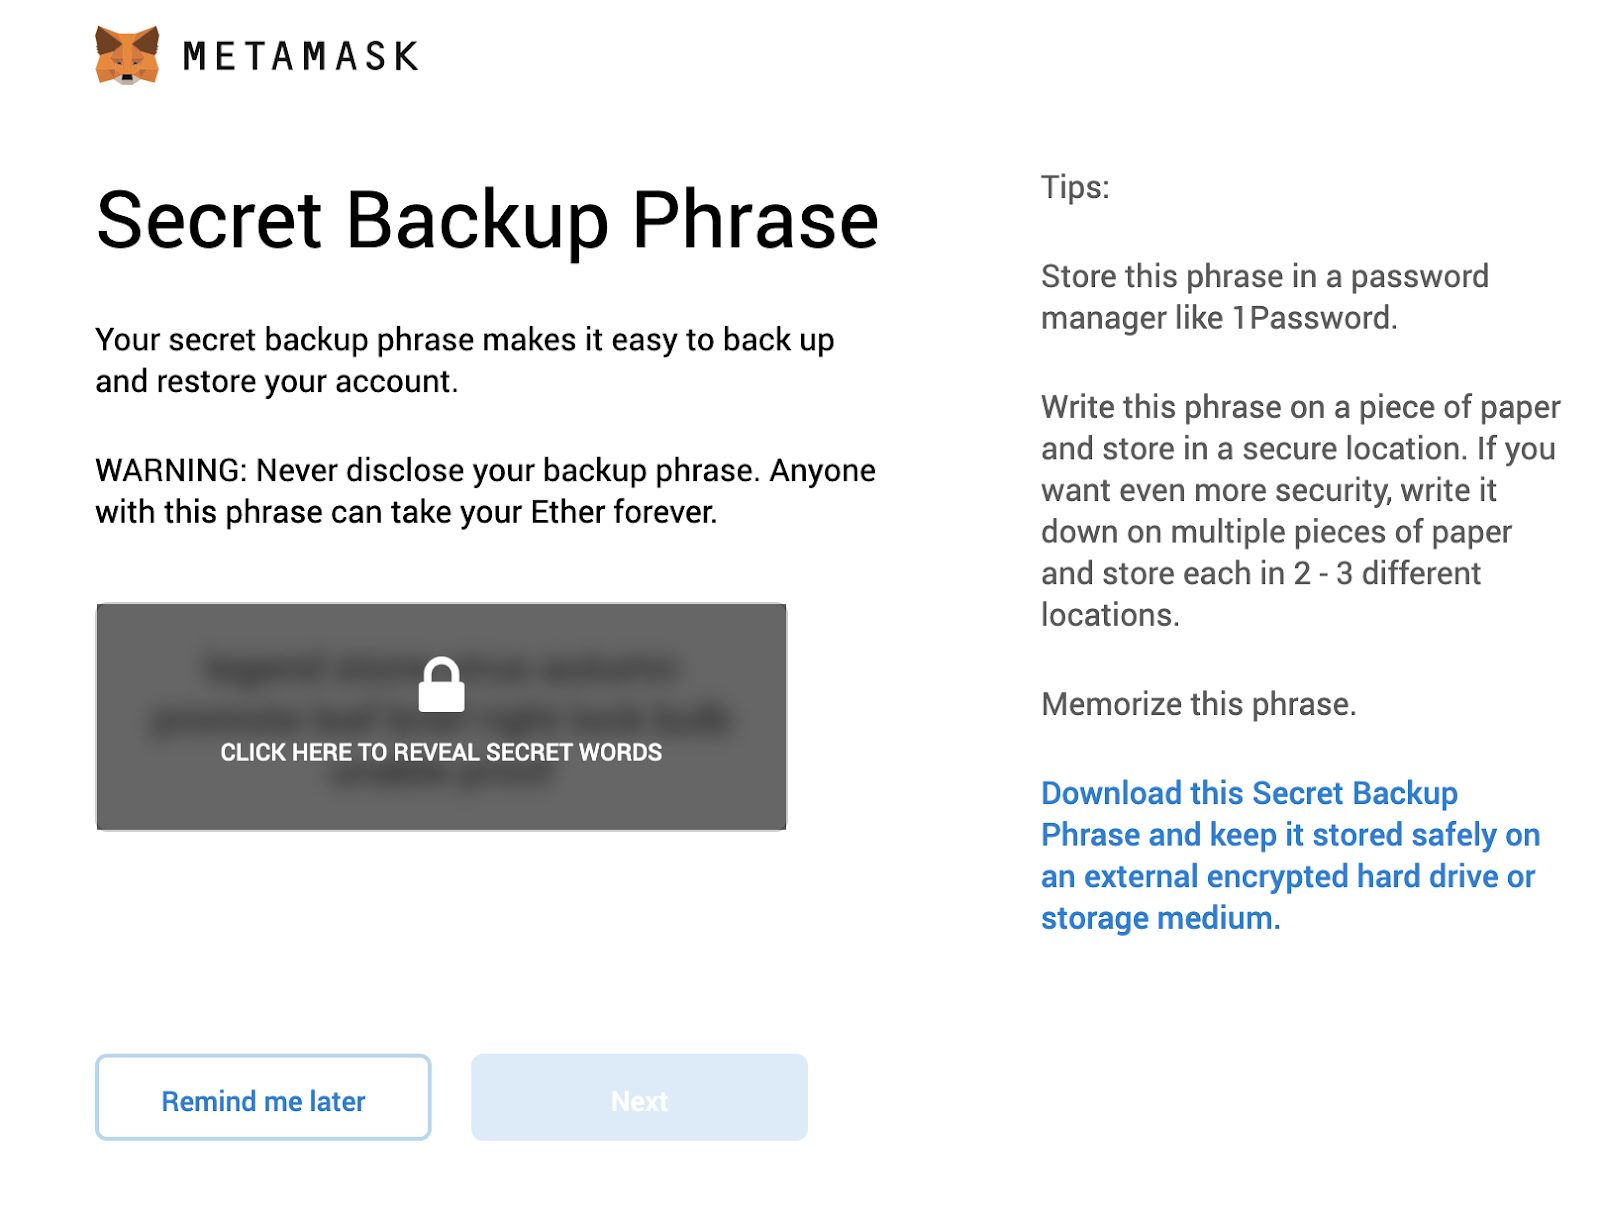
- Click on “Create” and then write down your backup phrase.
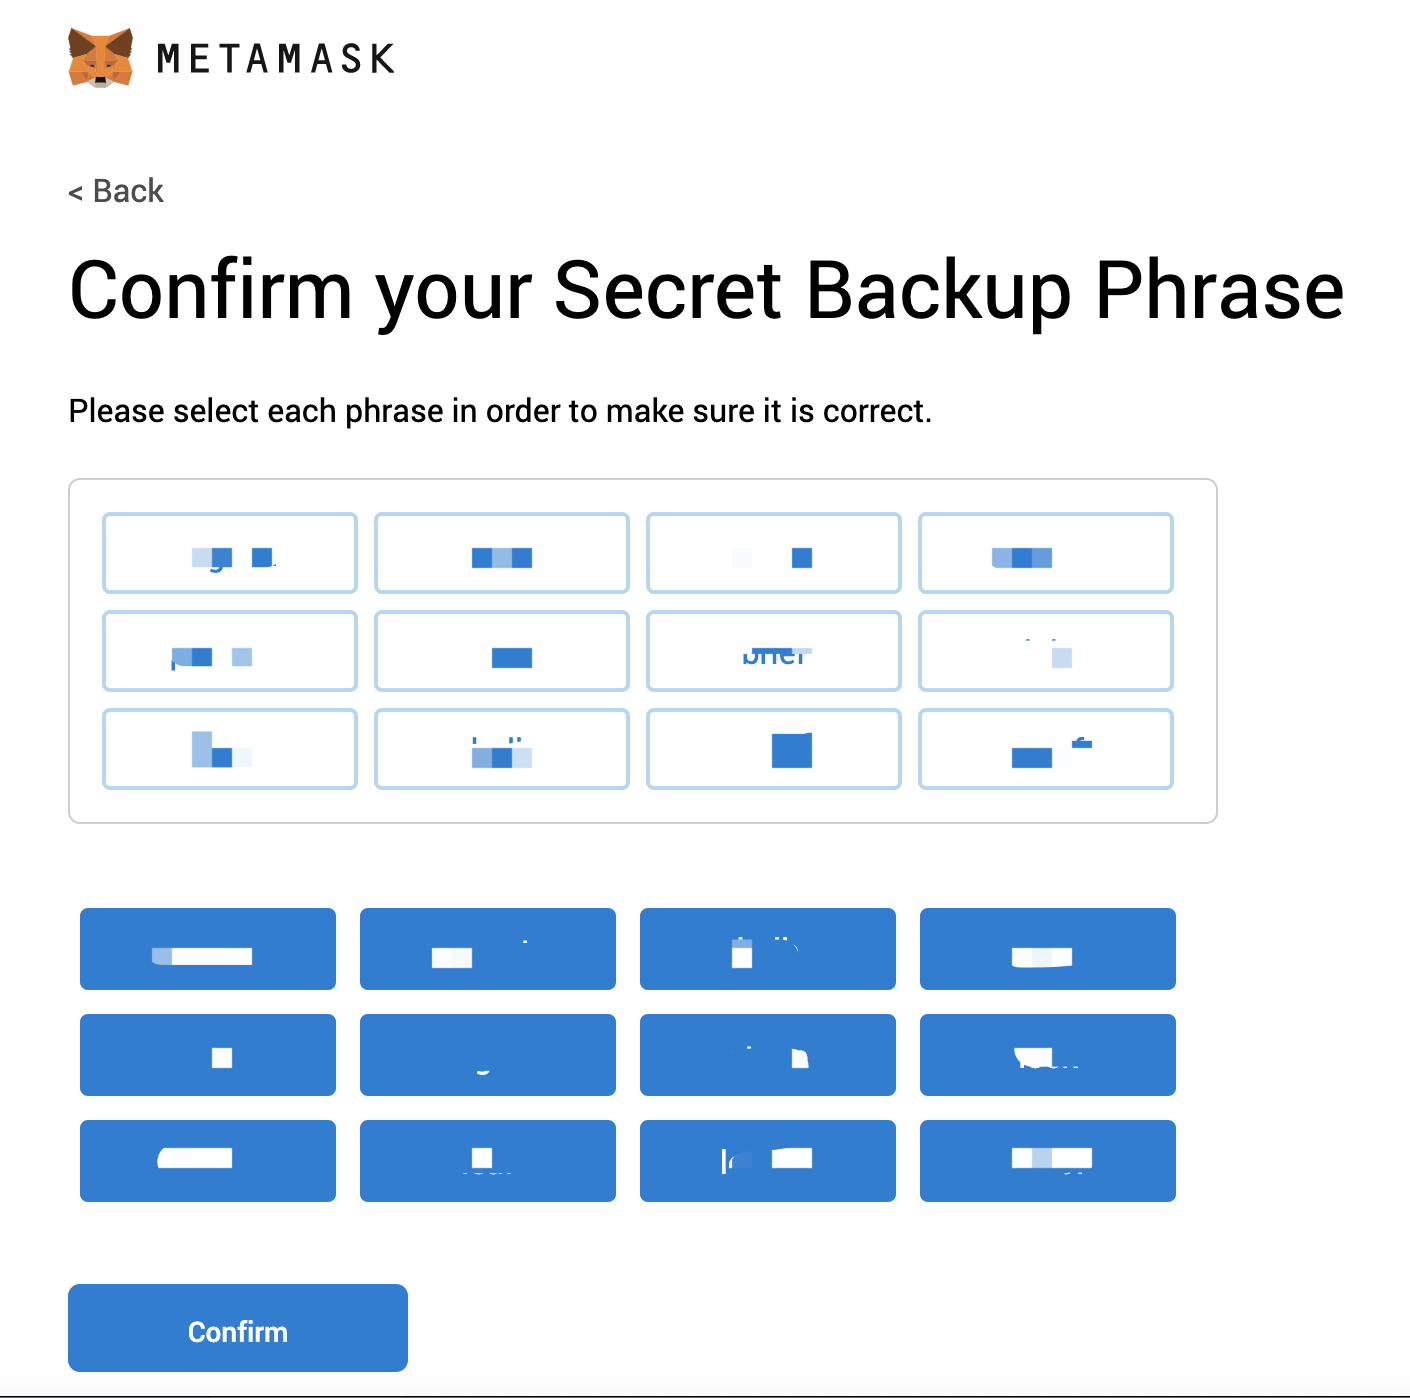
- Select each phrase in order to make sure it is correct then click “Confirm”.
Congratulations! you have create your MetaMask account!
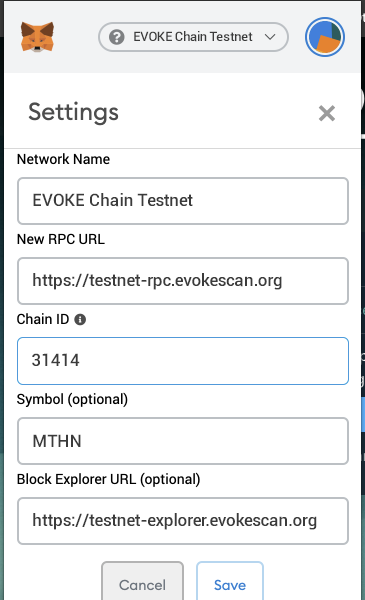
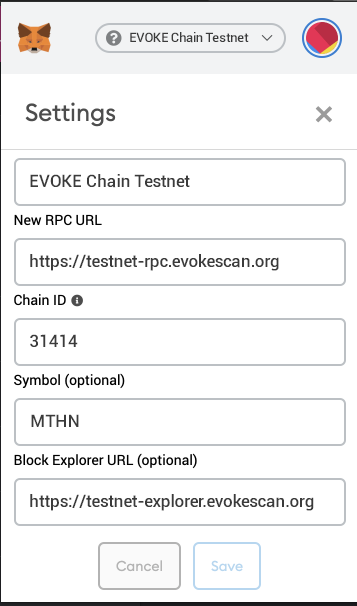
Connect Your MetaMask With MTHN Chain
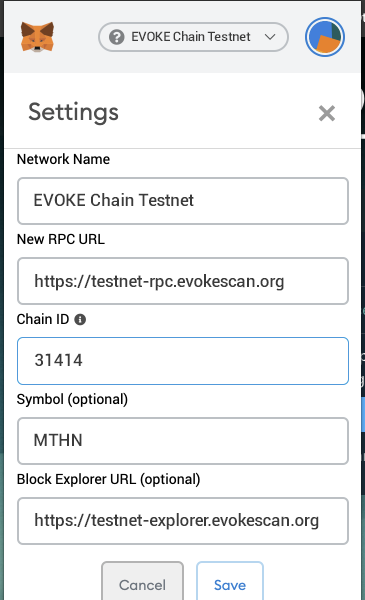
- Go to setting page

-
Add a new network
-
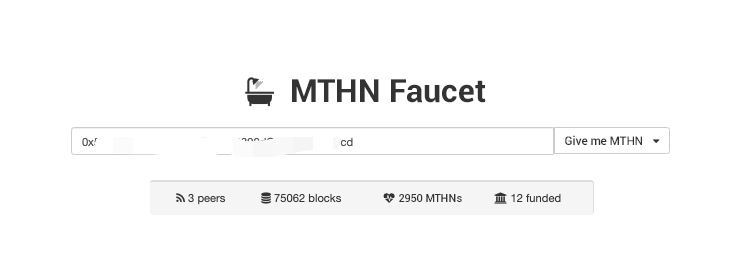
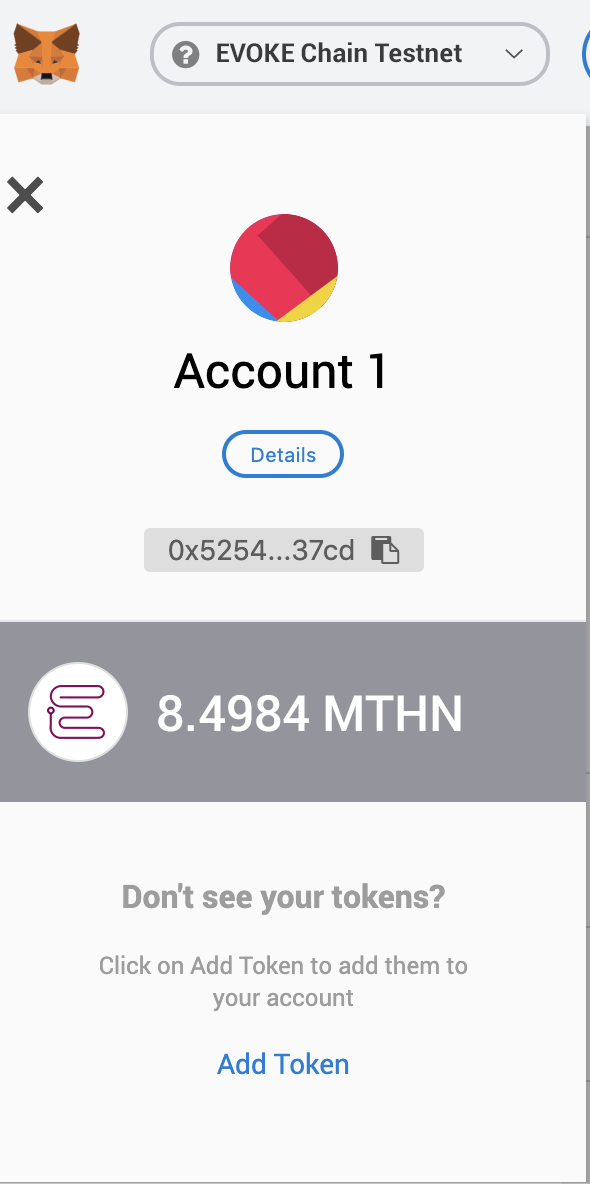
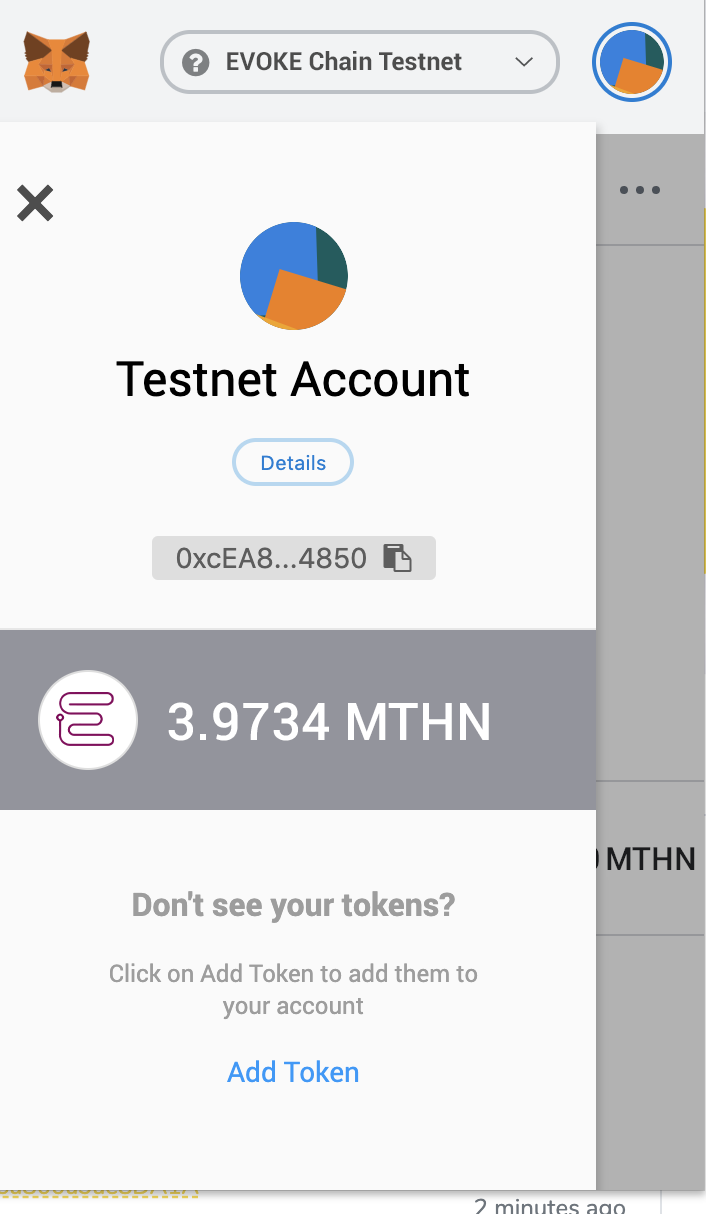
Claim some testnet token to your account Click on your address for copy

-
Go to faucet page: https://testnet-explorer.evokescan.org/faucet-smart, then paste your address in the box and click on “Give me MTHN”
Tip
Please note that you can only claim once every minute
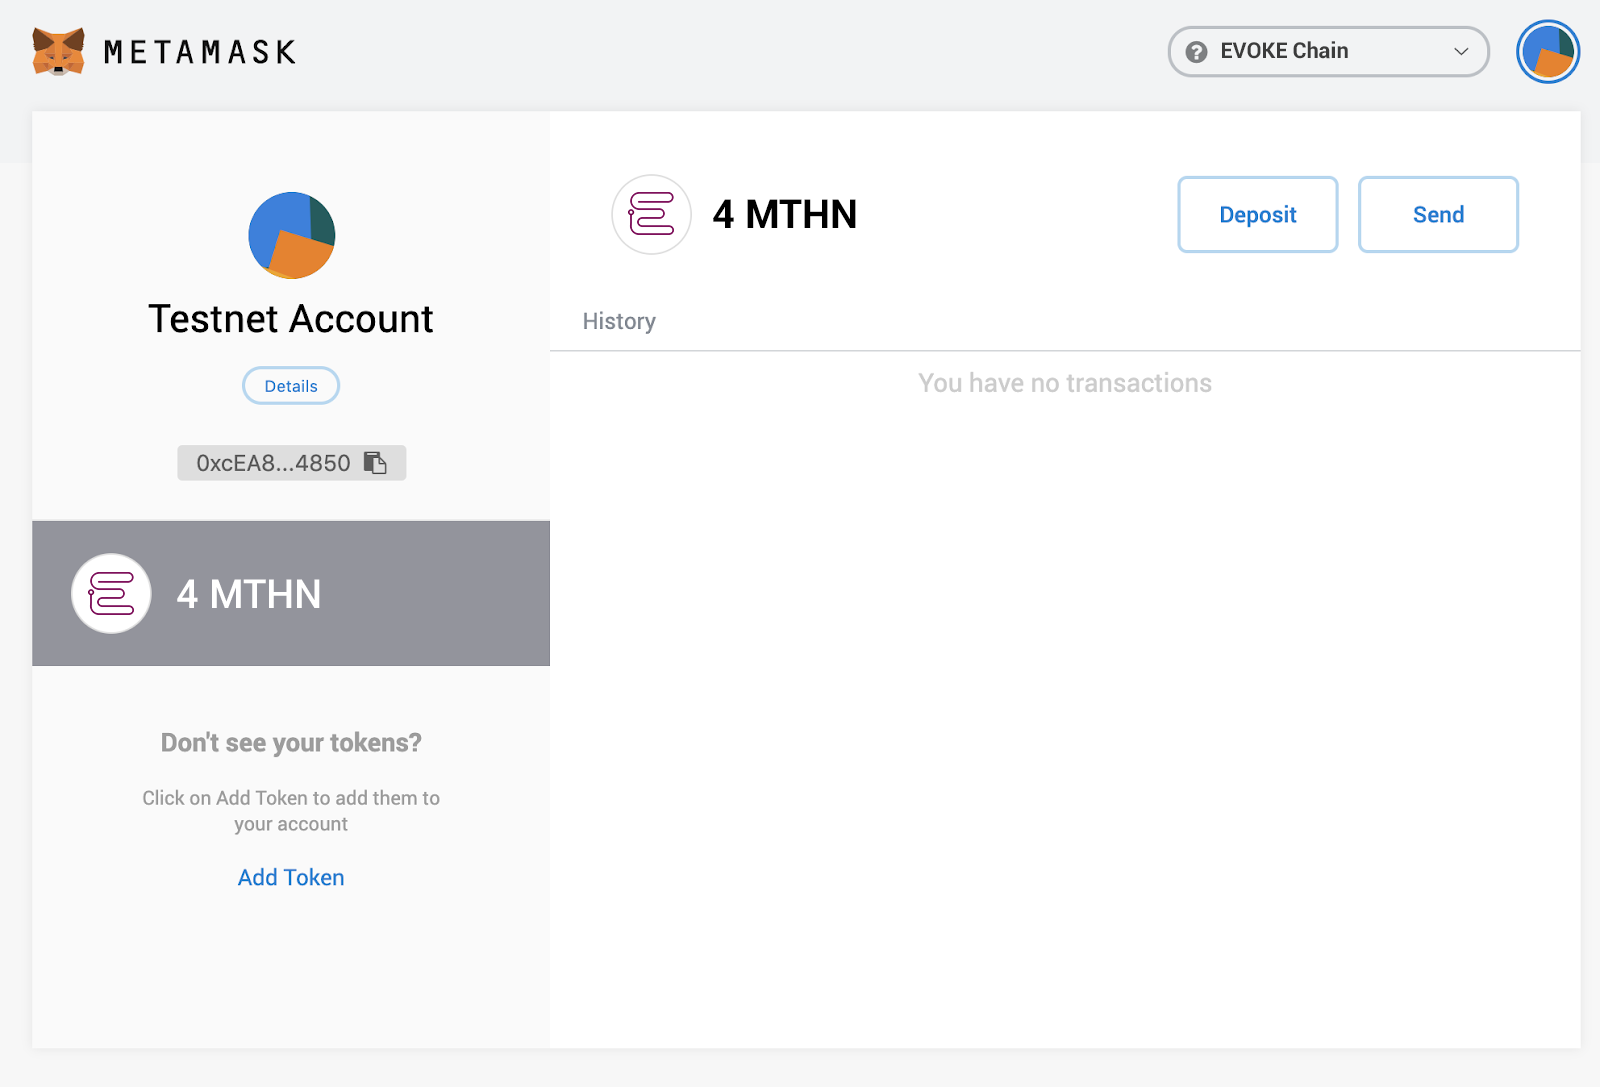
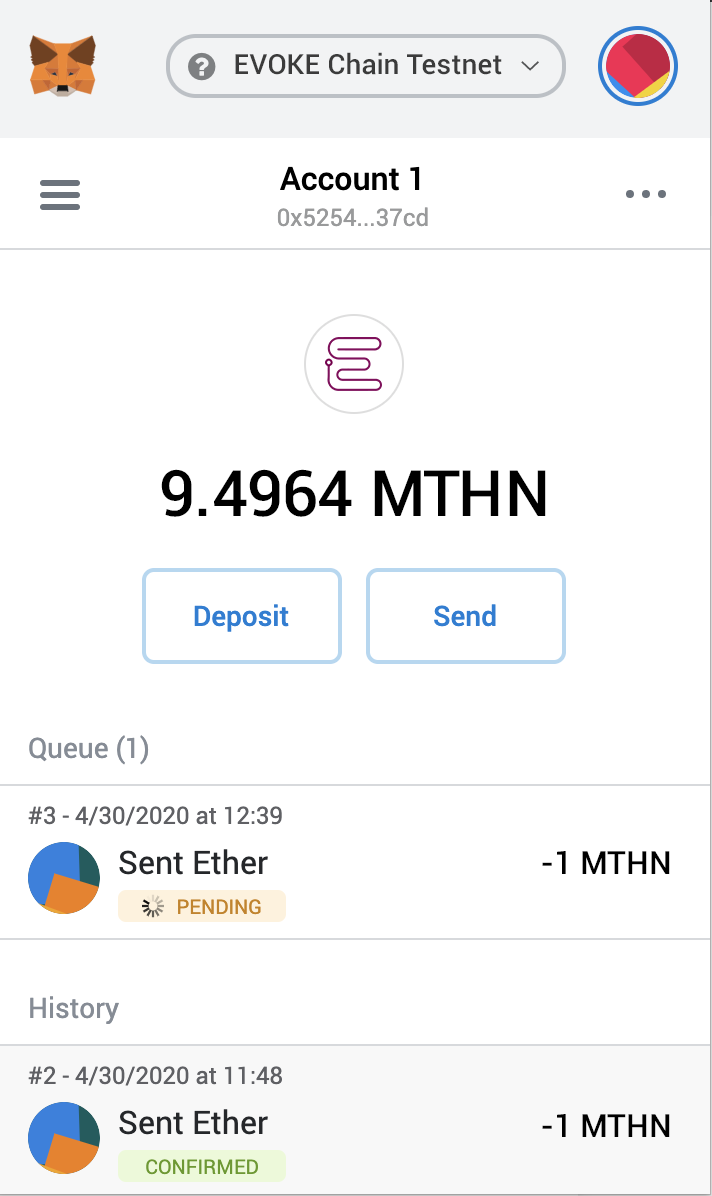
 After the transfer transaction is sent, you will see an increase of your balance
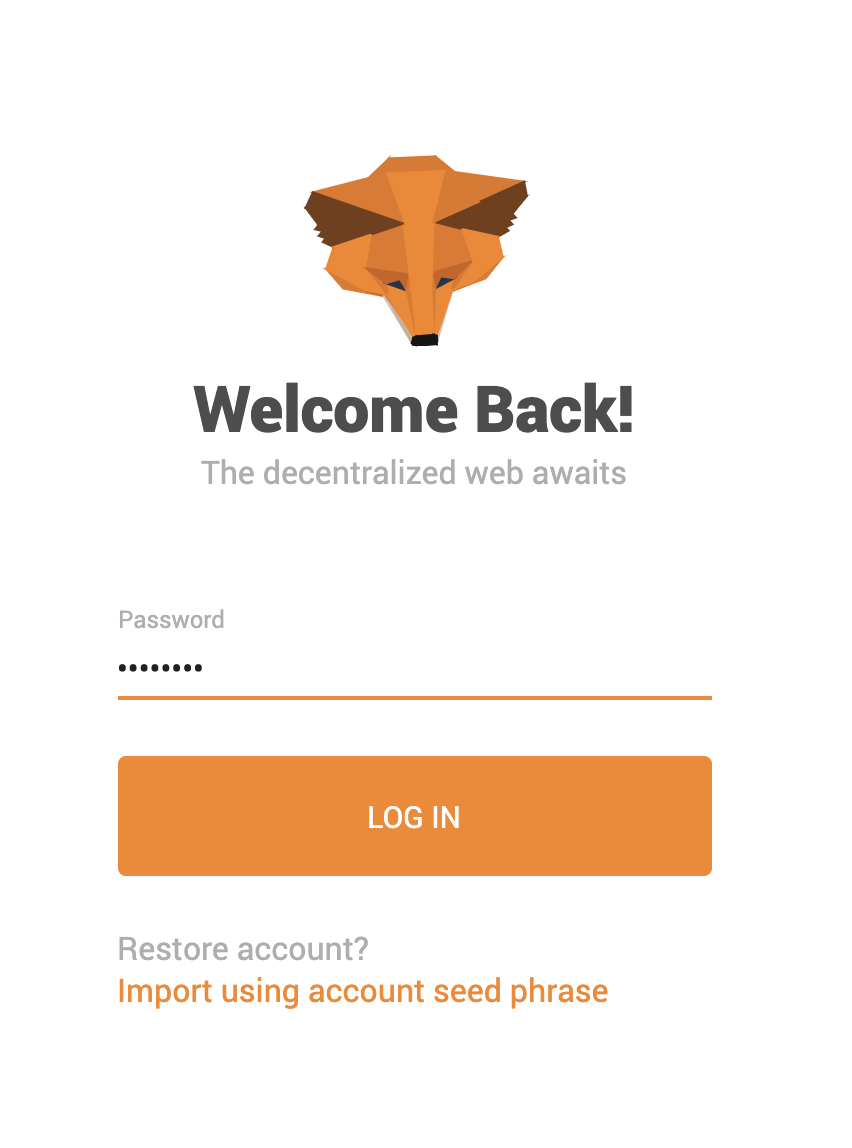
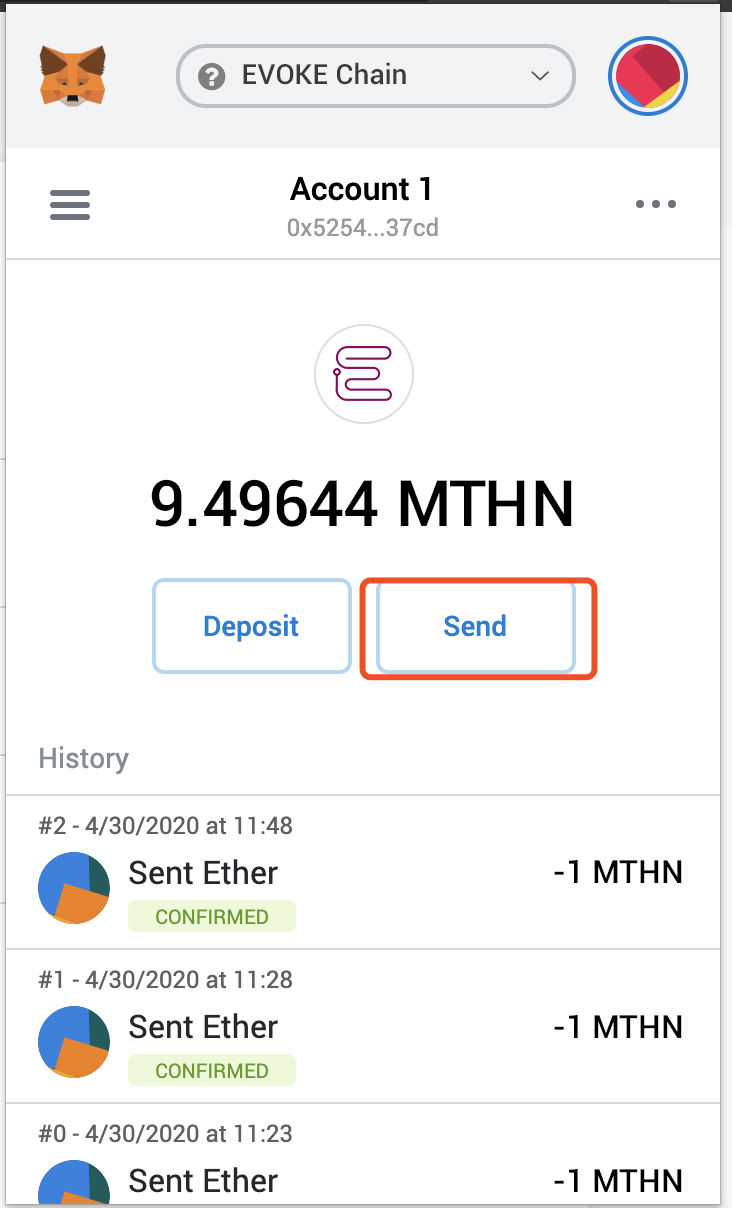
Transfer MTHN to other MTHN Chain address
-
Log in to your MetaMask
-
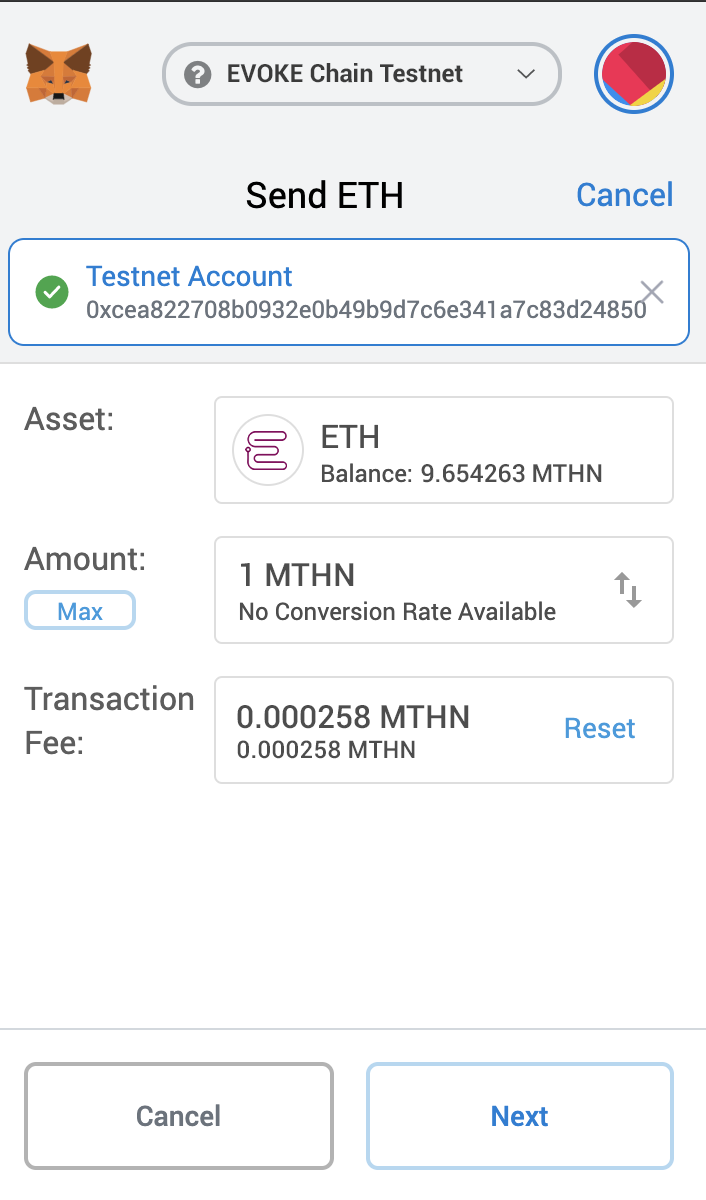
Click on Send button
-
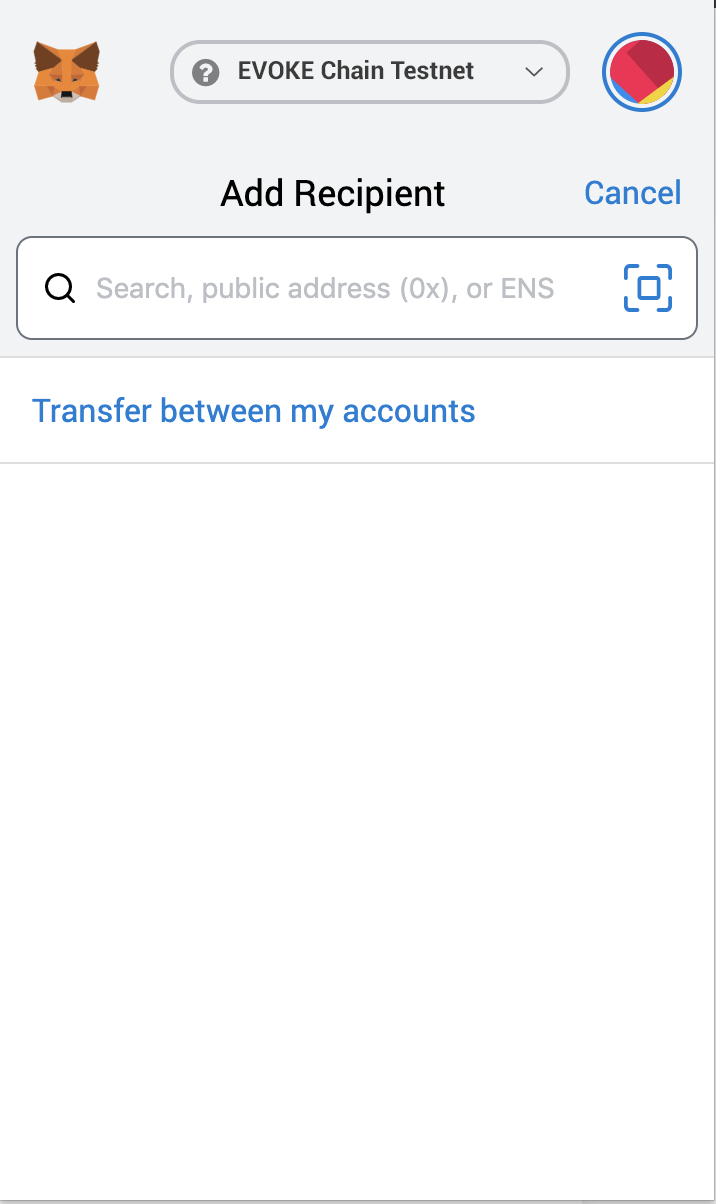
Copy the receiver’s address in the box
-
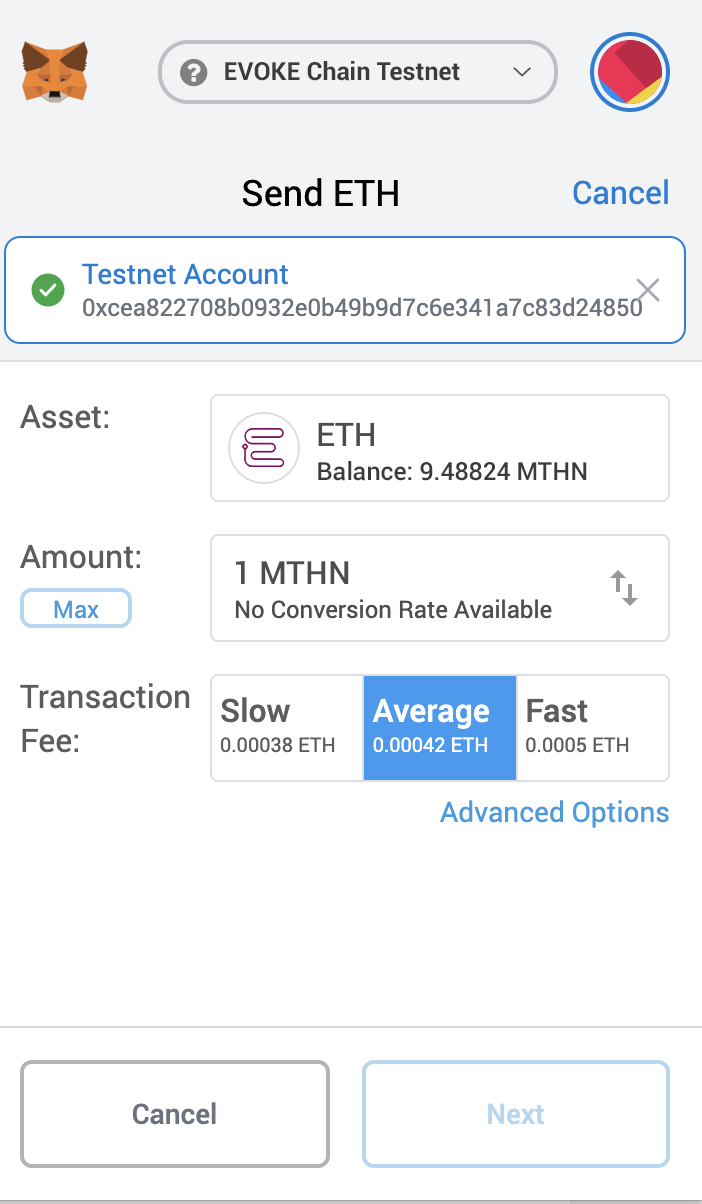
Input the amount
-
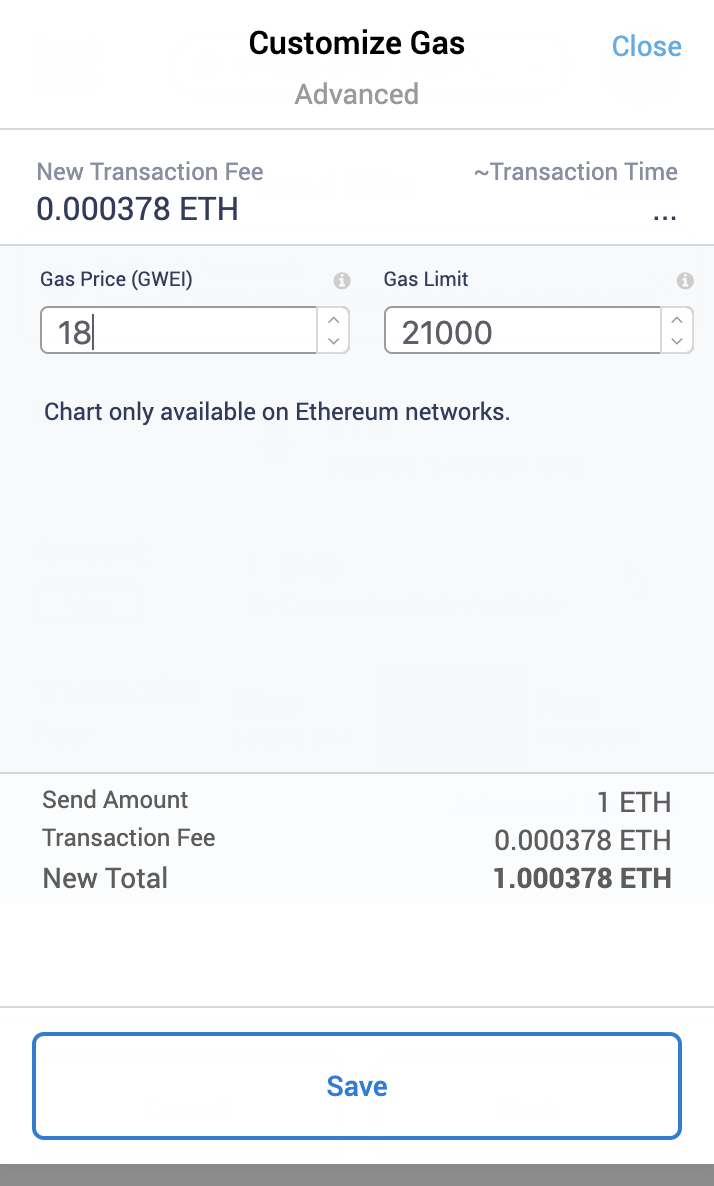
Go to Advanced Options to modify default gas price when necessary
-
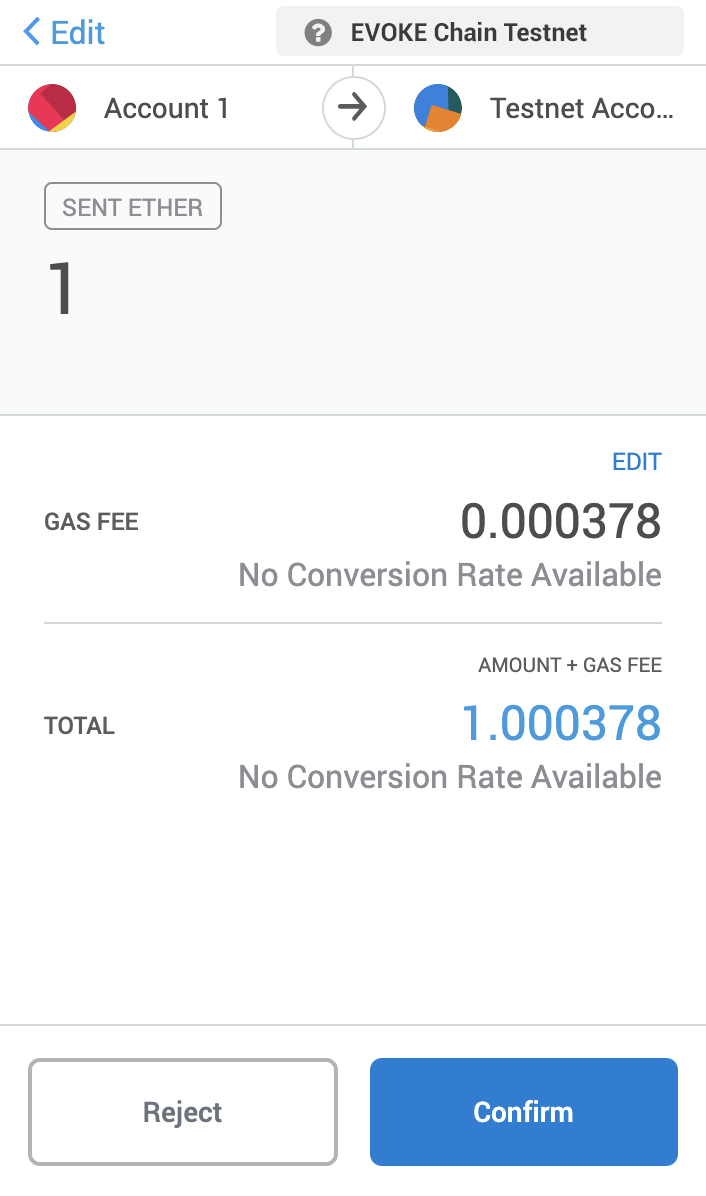
Confirm your transaction, then click Next
-
Click Confirm to send your transaction
- Wait for your transaction to be included in the new block
- Once your transaction is confirmed, check it on block explorer by clicking Details
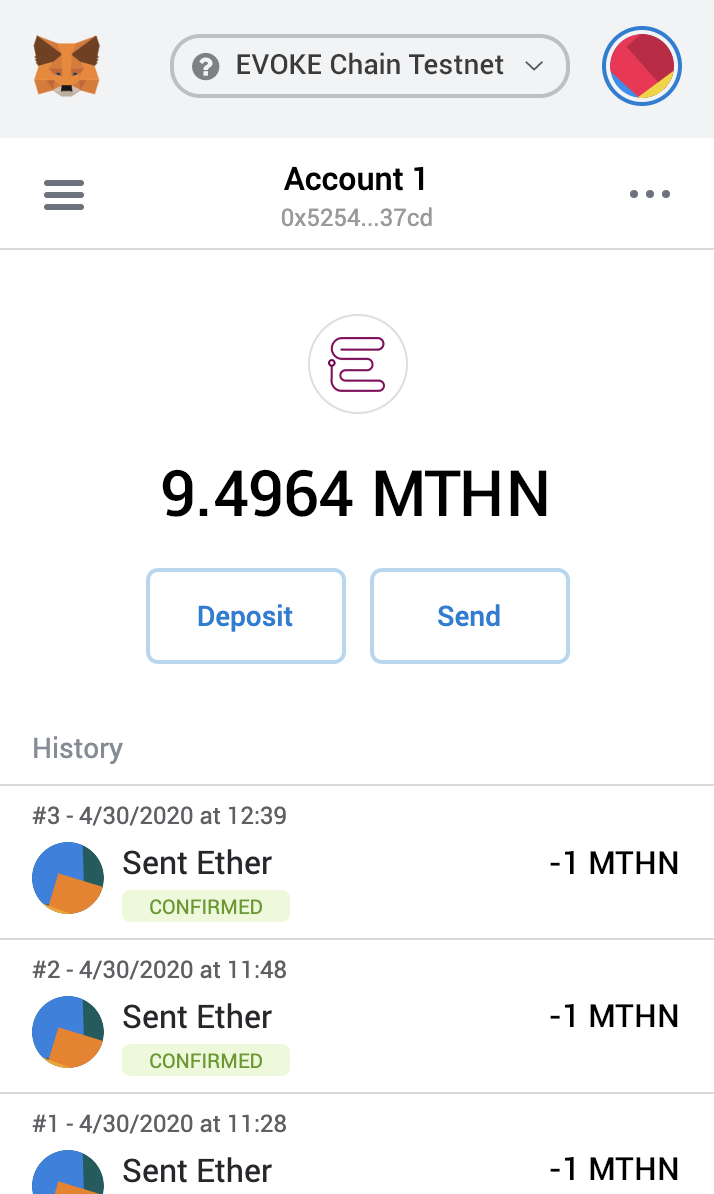
- Click on your account to see "Details''
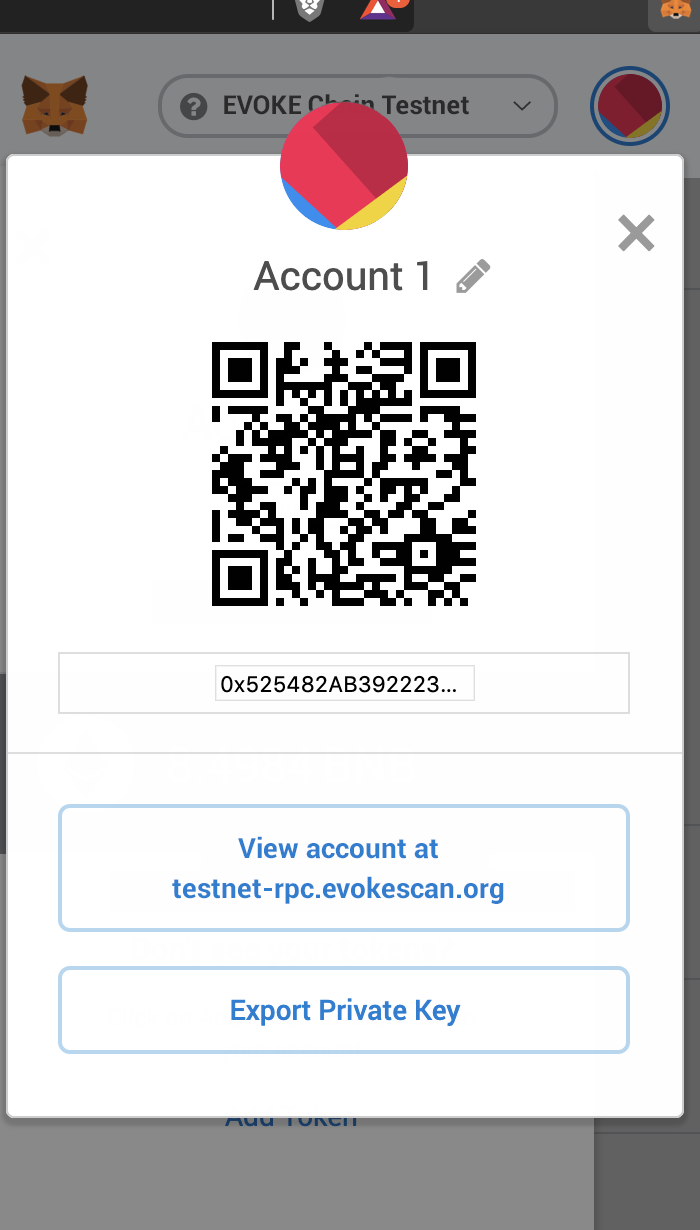
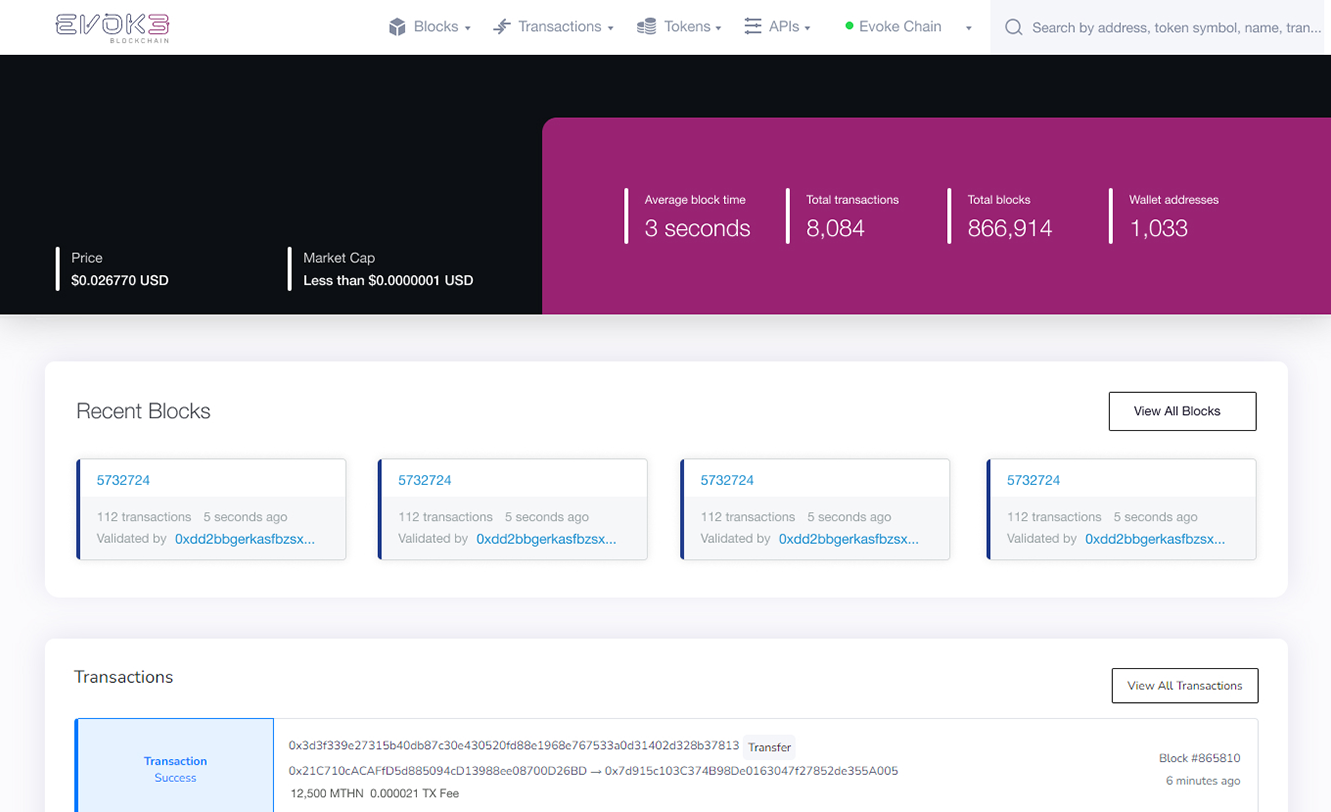
Verify your transaction in Explorer:

Add EVR20 Tokens
-
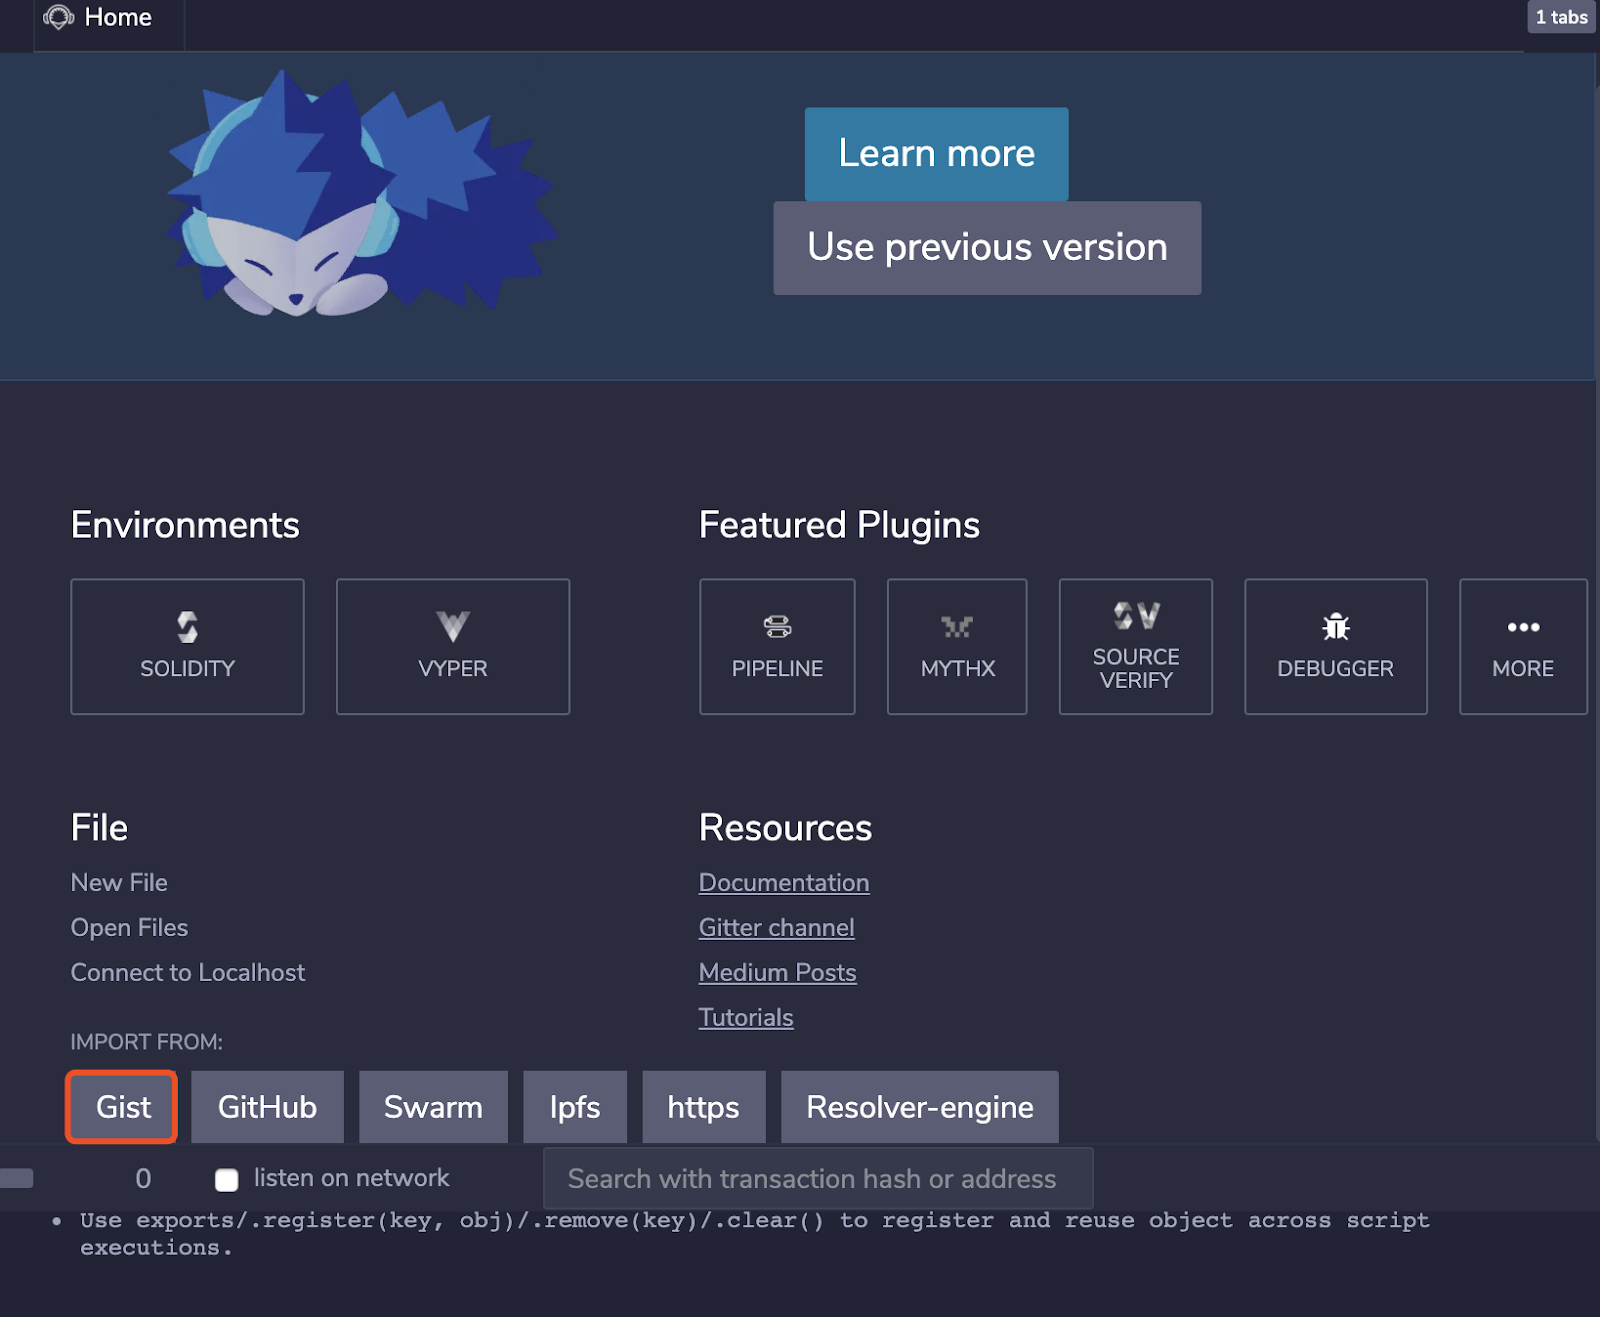
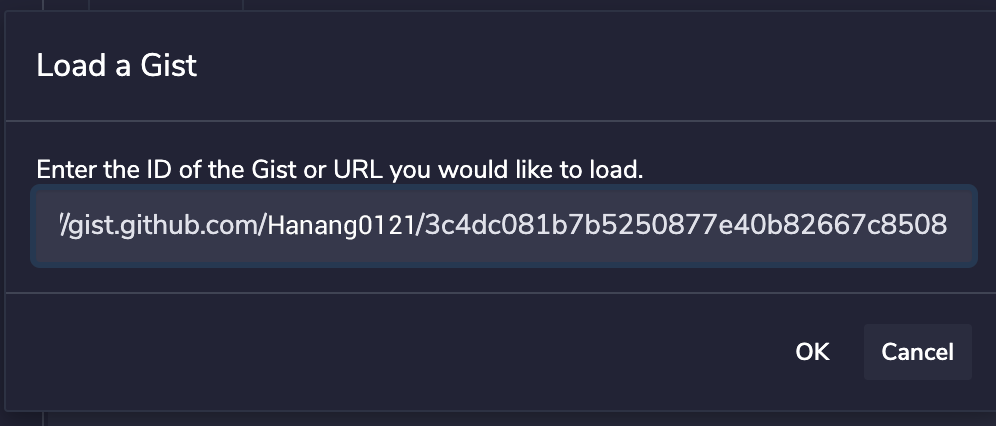
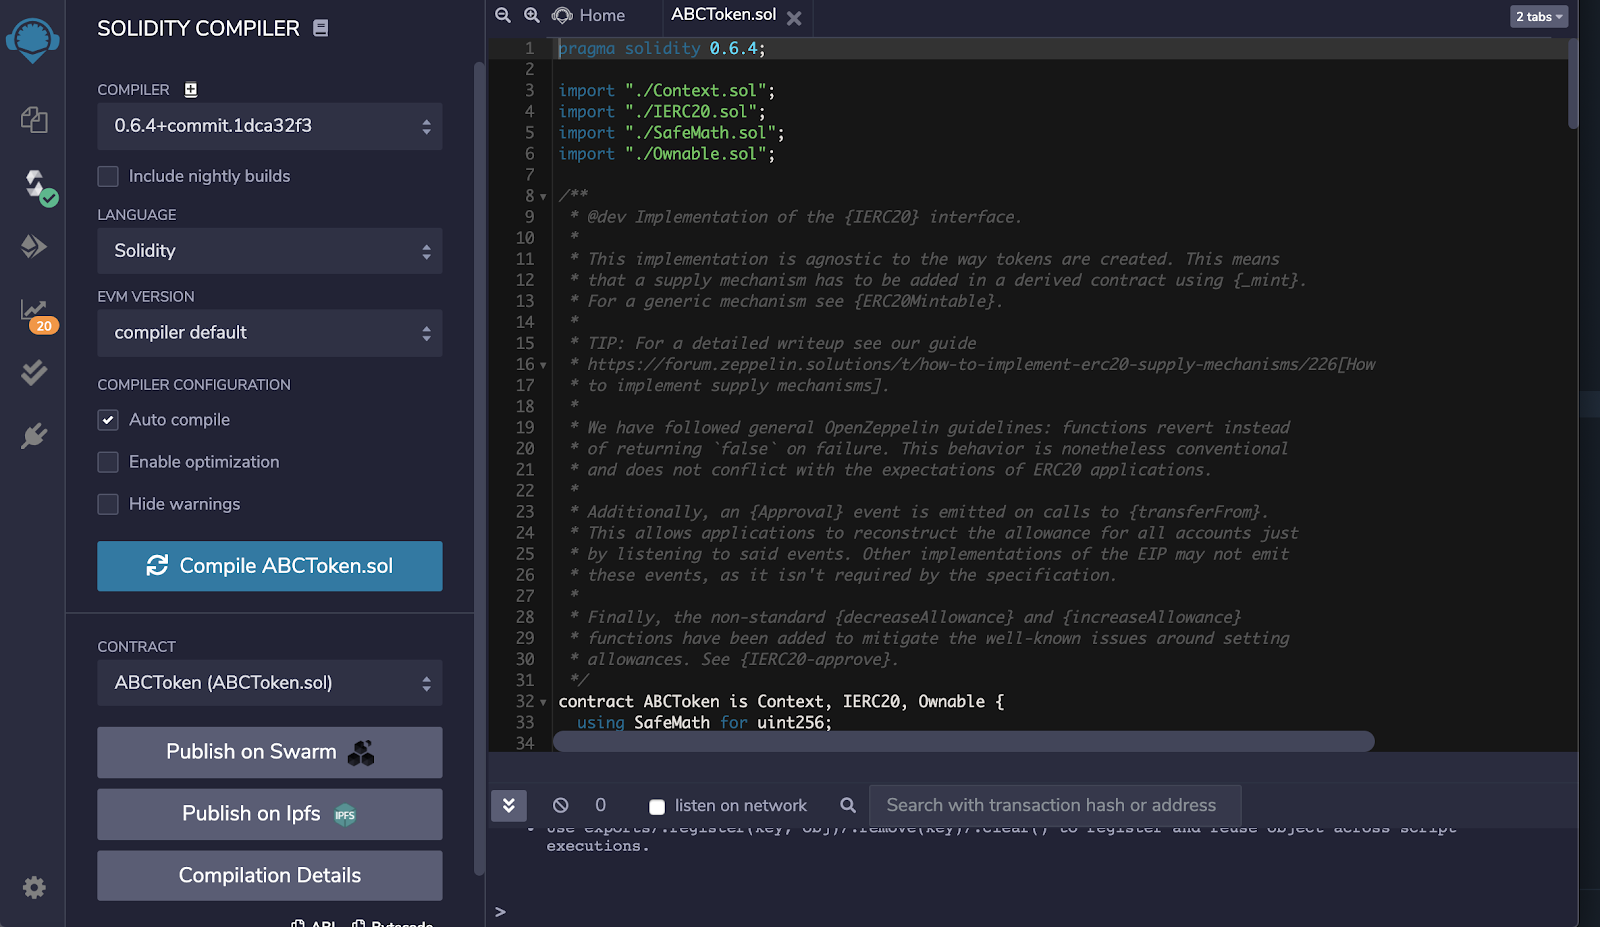
Deploy an ERC20 contract at https://remix.ethereum.org/ You can create a new file or import a sample contract: https://gist.github.com/HaoyangLiu/3c4dc081b7b5250877e40b82667c8508
-
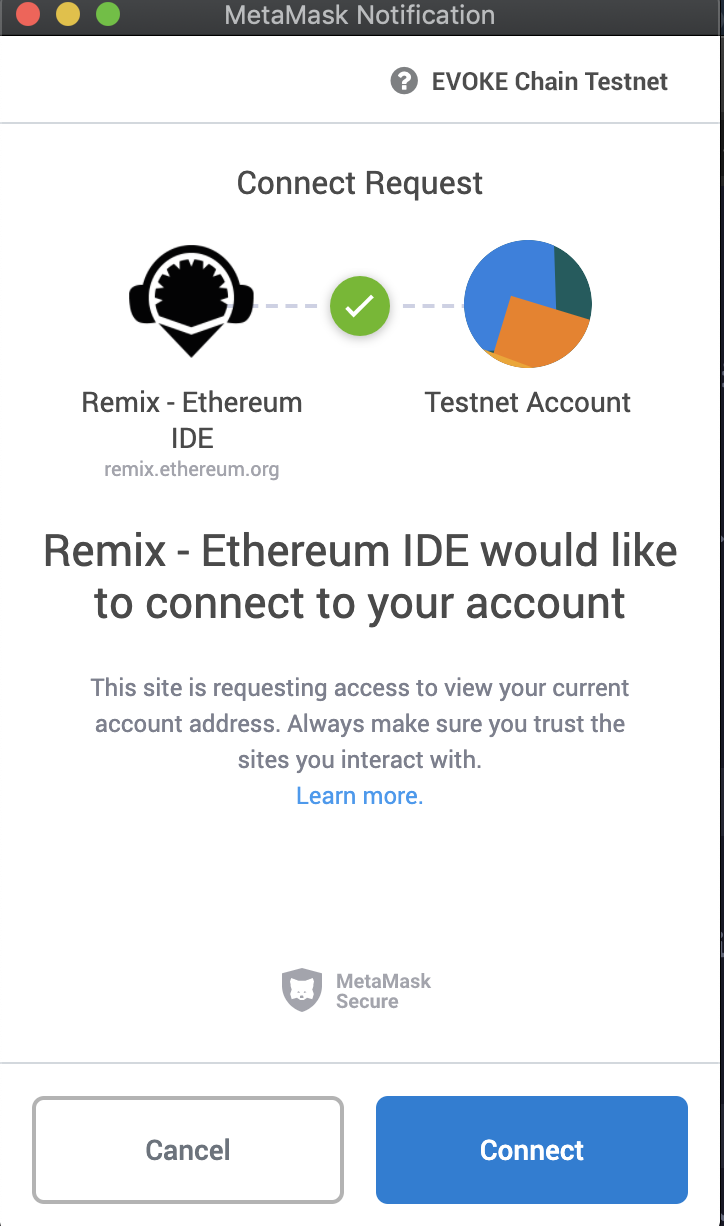
Connect your MTHN Chain Account to Remix
- Select “ABCToken” contract and compile
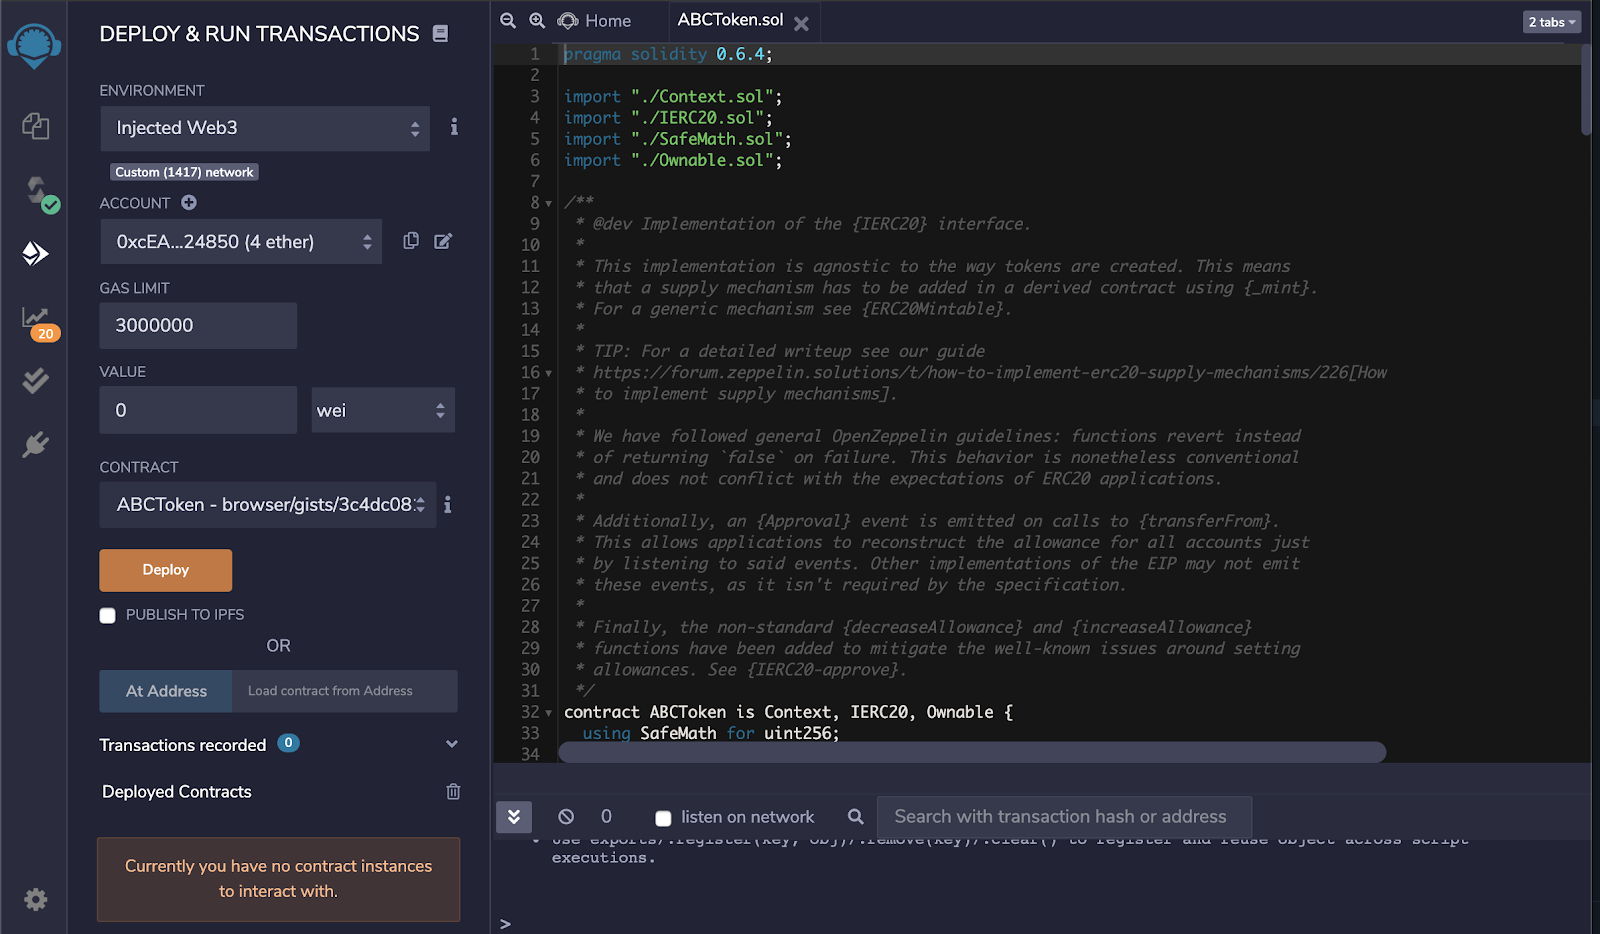
- Deploy your compiled contract
-
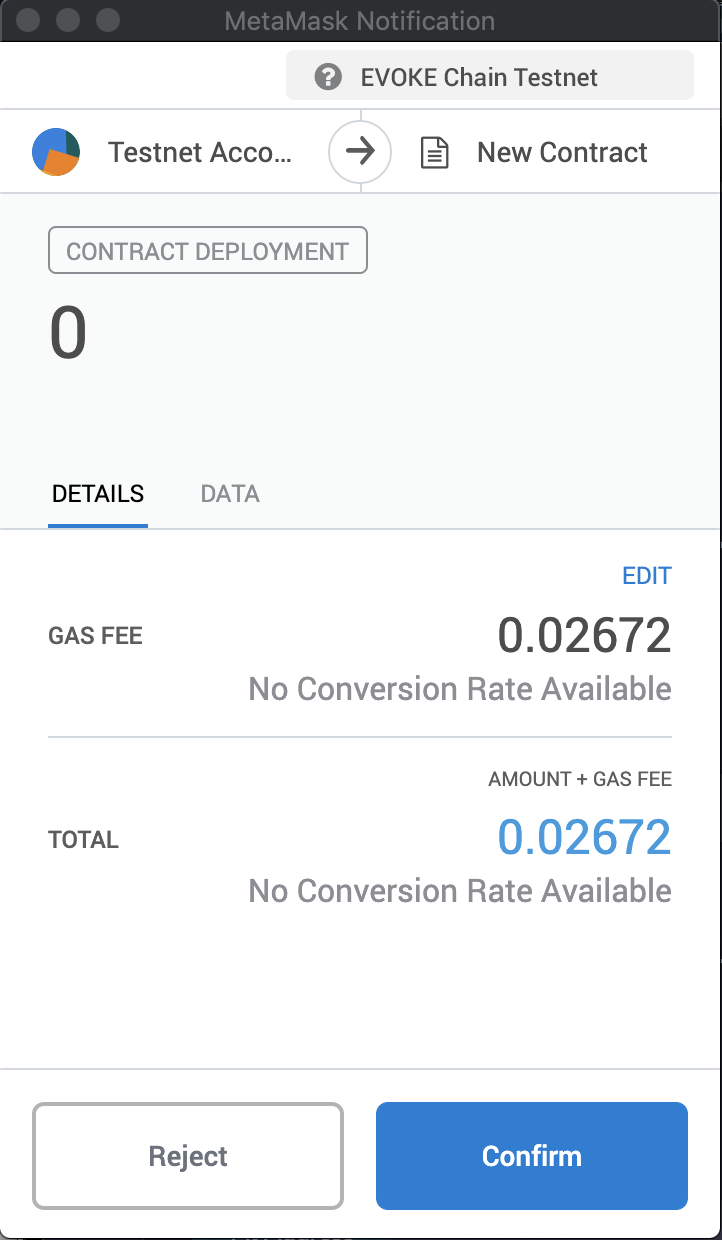
Adjust Gas Fee for your contract, then confirm your deploy contract
 You can see that there is a new ceate contract transaction in block explorer
-
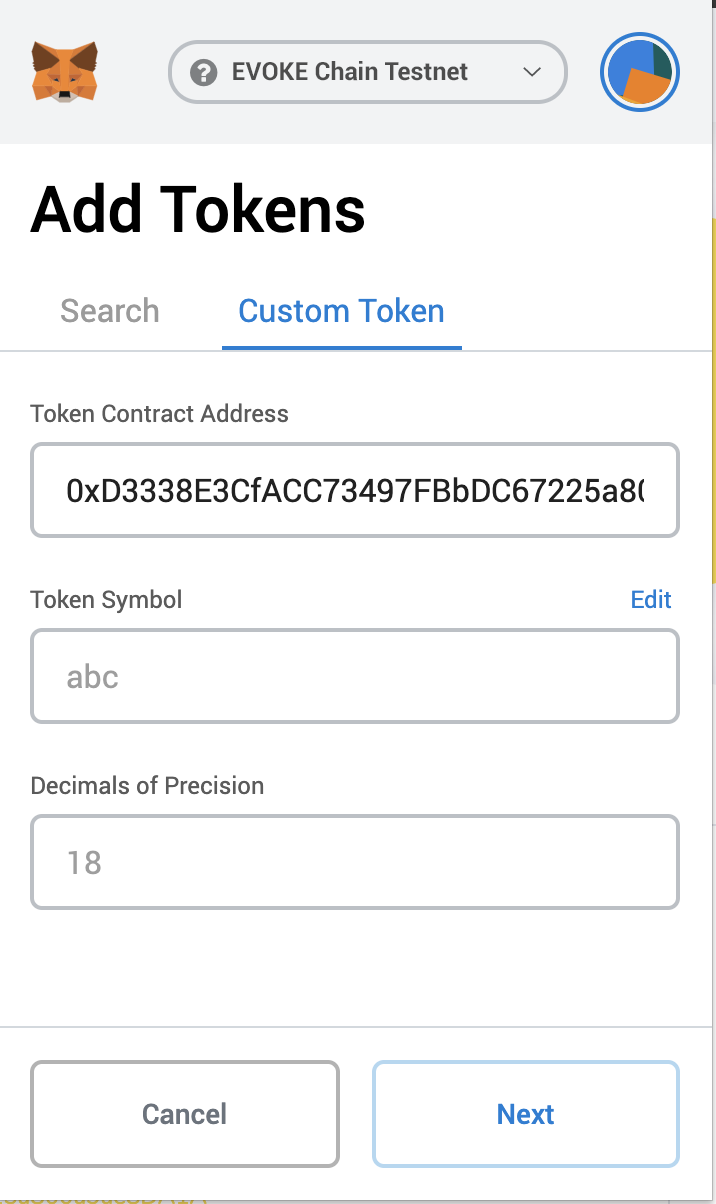
In MetaMask, Click on “Add Token”
-
Choose “Custom Token” and copy the contract address in the box
-
Click on “Add Tokens”
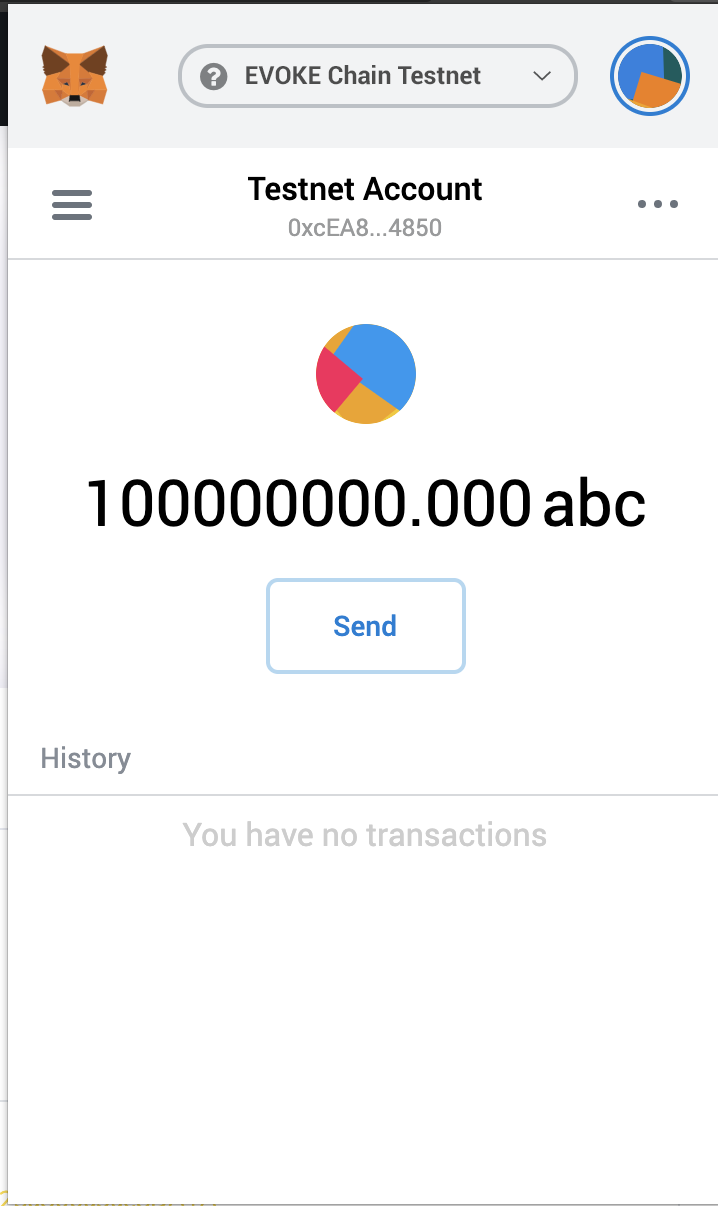
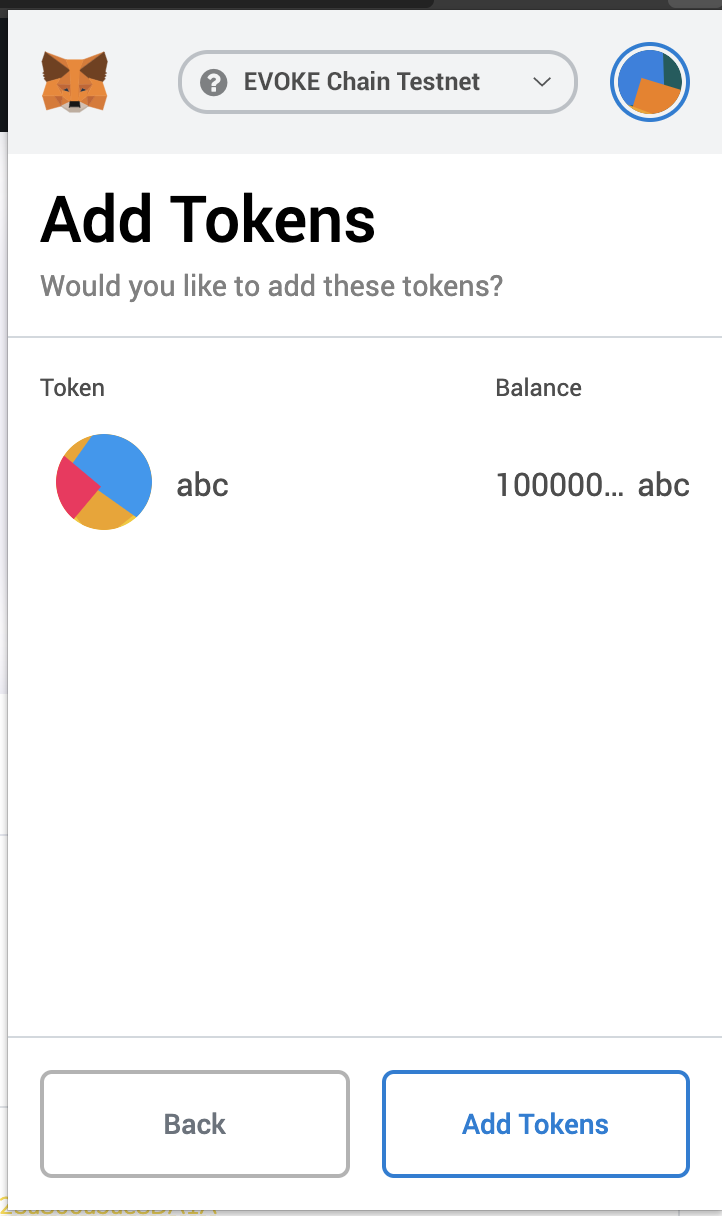 Then you can see change of your balance

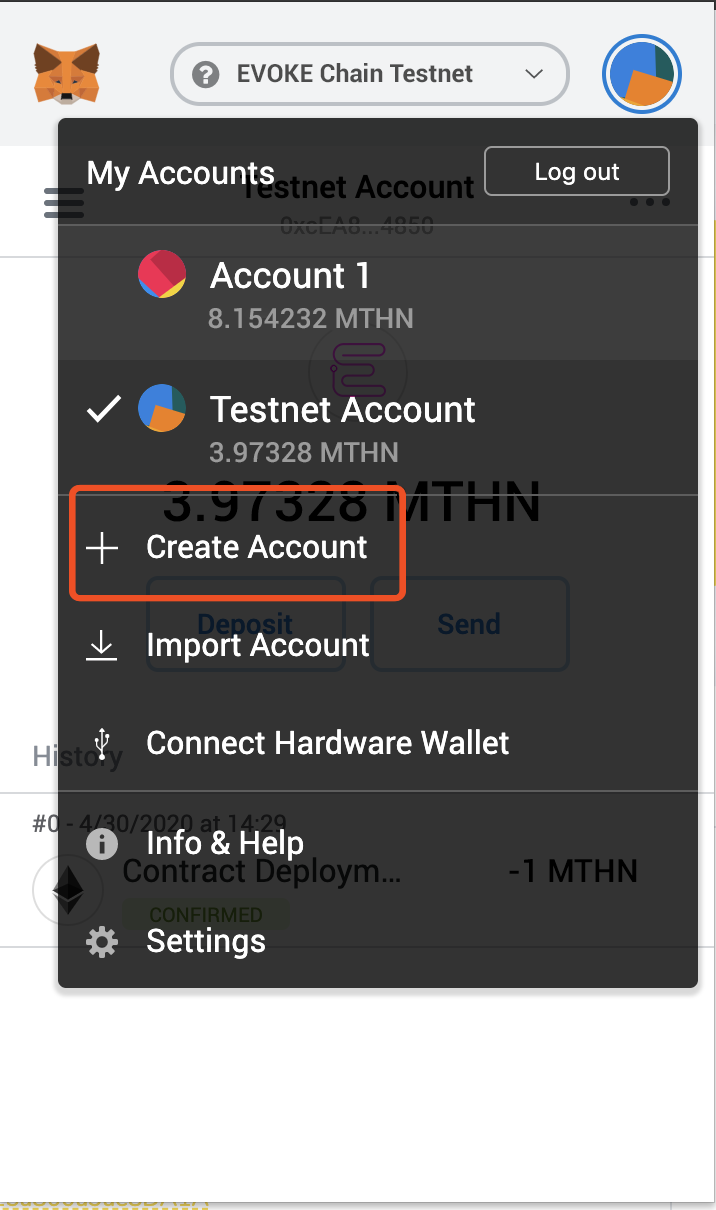
Create Multiple Accounts
-
To create multiple accounts, you click on Profile icon on MetaMask and then click on Create Account
-
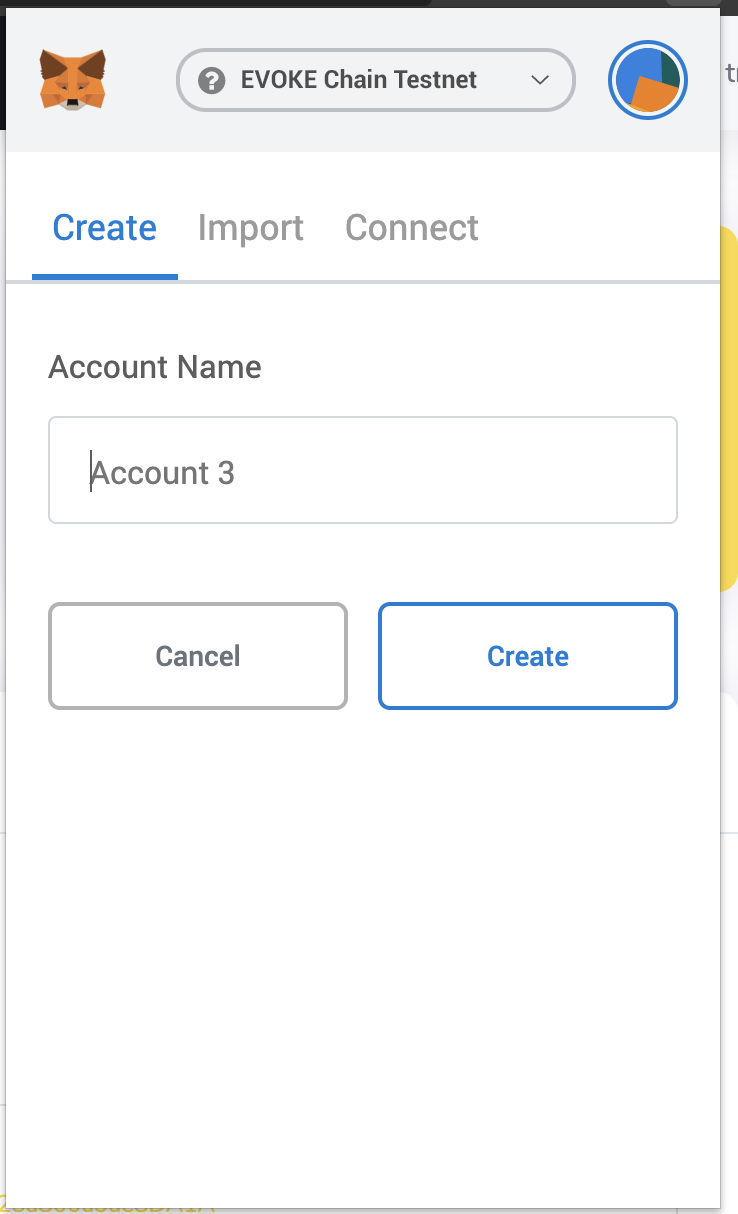
You can then add an account name and click on Create.
-
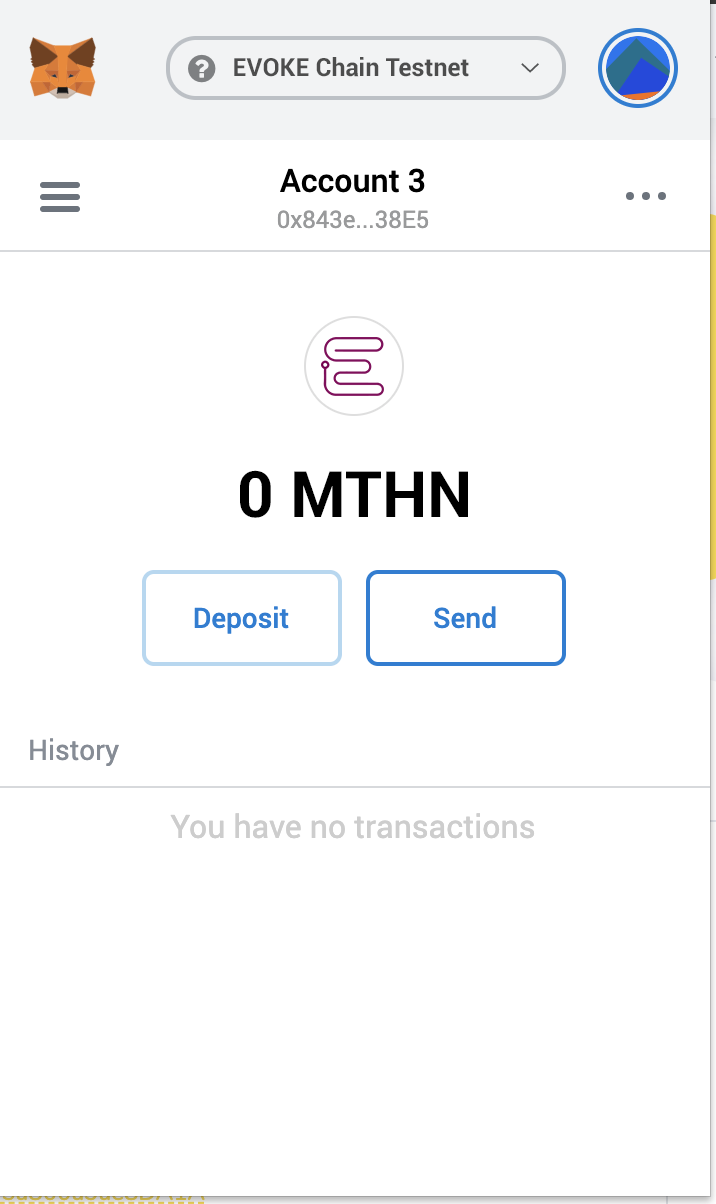
Then you can see a new account is created!
Upgrade
Since the release of v8.1.3, MetaMask sometimes displays the warning message "Invalid Custom Network".
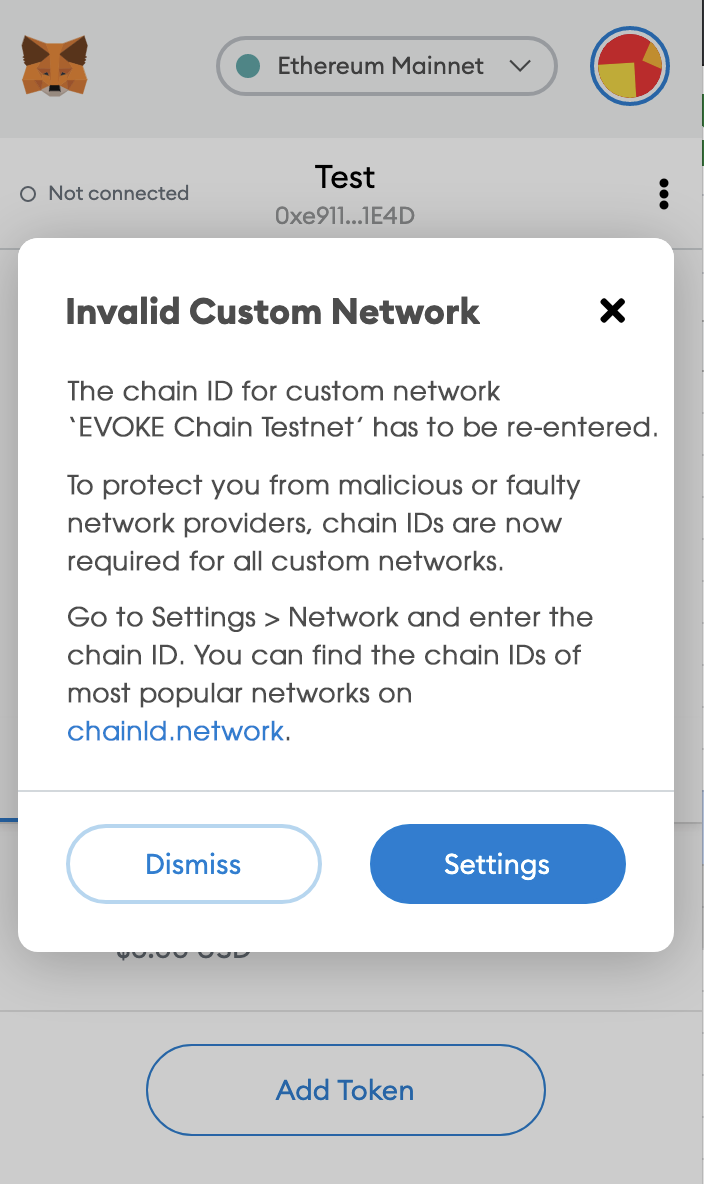
To solve this issue, click on "'Settings" and enter Chain ID of MTHN Chain network again. If 56 doesn’t work, try 0x38.